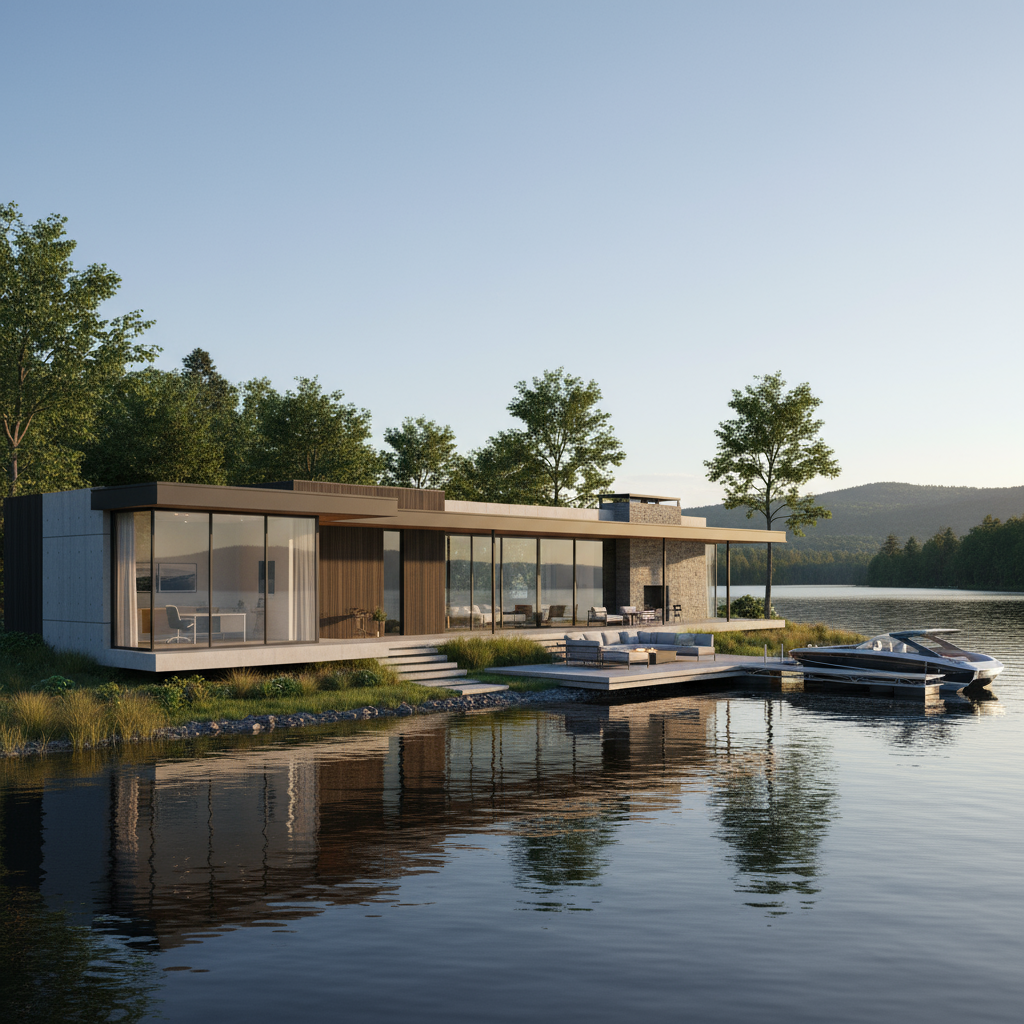
How to Build One Story Modern Lake House Plans with Home Office Studio
This practical, step-by-step guide teaches you how to create and adapt one story modern lake house plans with home office studio. You will learn site-prep priorities, accessible single-level layout strategies, how to place a productive studio or home office for best light and views, budget-saving choices, and next steps for permits and construction. This guide is tailored for first-time lakeside buyers, modern design enthusiasts, DIY builders, and weekend getaway planners in regions such as the US Midwest, Great Lakes, and Northeast—helping you turn waterfront aspirations into buildable plans that balance modern aesthetics and affordability.
What you need before starting (Prerequisites & resources)
- Basic site info: property survey, setback lines, high-water mark, and slope/topography (ask your county assessor or surveyor). Time: 1–2 weeks to request and receive documents.
- Tools & docs: tape measure, camera/phone for photos, note app, and a PDF viewer for plan downloads. Estimated setup: 30 minutes.
- Knowledge: basic floor-plan reading and local permitting rules (flood zones, septic/well). If unfamiliar, plan 1–2 meetings with local building dept—this takes ~1 hour per meeting.
- Budget estimate: set a target build budget (land + construction) and contingency of 10%–15%.
- Design references: collect 3-5 inspirational plans or images (download PDFs for offline review). Start with sample collections such as Advanced House Plans – Lake House Collection and ePlans – One-Story Lake House Plans.
- Optional: sign up for an initial consultation at Mansfield Woods: Mansfield Woods consultation.
Step 1: Evaluate the lot and choose the best orientation (This takes ~2–4 days)
- Action: Walk the lot, measure views, and mark high-water and setback lines.
- Details: Start by locating the primary view corridor toward the lake, note prevailing winds, and identify the shortest route from driveway to front entry. For sloped lots, decide whether a walkout foundation or elevated foundation is required; this matters for foundation cost and accessibility. If you do not address elevation, then you risk excessive grading or costly retaining walls.
- Tips & warnings:
- Tip: Position the main living area and home office studio to face the lake for natural light and inspiring views—this increases resale and enjoyment.
- Warning: If your lot is in a flood-prone zone, plan for elevated floors or pile foundations and consult FEMA/local flood maps before finalizing orientation.
- Expected outcome: A sketched site plan showing house orientation, driveway, septic/well locations, and outdoor living zones aligned to views.
Step 2: Select a single-level layout that prioritizes accessibility and views (This takes ~1–2 weeks)
- Action: Choose a one-story floor plan or modify a plan so living, primary bedroom, and home office studio are all on the main level.
- Details: Look for open-concept layouts with a clear sightline from entry to lake-facing windows. Allocate a quiet corner or a semi-private wing for the home office studio—prefer a 10′ x 12′ minimum for a comfortable workstation and storage. Consider dual-use spaces: a studio with a built-in murphy bed or sleeper sofa for guests.
- Tips & warnings:
- Tip: Use large windows and clerestory glazing to maximize daylight without losing wall space for furniture and storage.
- Warning: Avoid placing the office immediately next to noisy utility spaces (HVAC, kitchen) — if you do, add sound insulation.
- Expected outcome: A draft floor plan where the home office studio has natural daylight, a lake view, and enough separation from noisy living areas—ideal for remote work or art/hobby use.
Step 3: Design the home office studio for productivity and flexibility (This takes ~1–3 days)
- Action: Specify layout, lighting, and connections: desk placement, storage, power/data, and window locations.
- Details: Place the desk facing the view or sideways to avoid glare. Add task lighting, dimmable overheads, and at least two dedicated duplex outlets plus one network/ethernet port. Plan for built-in shelving and a closet for multi-function use. If acoustics matter, specify solid-core doors and insulating drywall or resilient channels.
- Tips & warnings:
- Tip: Include a small sink or wet area if the studio doubles as an art space; this reduces trips to the kitchen and protects floors.
- Warning: If you plan to convert to short-term rental later, ensure egress windows meet code and add a separate exterior entrance.
- Expected outcome: A functional home office studio plan ready for inclusion in your overall blueprint, optimized for light, power, and flexibility.
Step 4: Choose modern materials and energy-smart systems on a budget (This takes ~3–7 days)
- Action: Specify exterior and interior finishes that read modern but stay cost-conscious.
- Details: Combine durable siding (fiber cement or engineered wood) with natural accents like stone veneer. Opt for high-efficiency windows (low-E) with slim frames for that modern look. Consider heat pumps for HVAC and LED lighting throughout. Prioritize long-lasting materials for decks and porches since lakeside exposure accelerates wear.
- Tips & warnings:
- Tip: Use standardized window sizes and stock doors to save on custom orders.
- Warning: Avoid exotic or untested materials near water—they often cost more and age poorly in humid conditions.
- Expected outcome: A materials list and systems spec that balance modern aesthetics, energy performance, and long-term maintenance cost.
Step 5: Create a concise plan set for permits and builder bidding (This takes ~2–4 weeks)
- Action: Convert your layout and site plan into permit-ready documents or customize a pre-drawn plan to local code.
- Details: If you use a stock plan, order a modification package to adjust elevations, foundation, and mechanicals for your lot. Include a site plan, floor plan, foundation plan, elevations, and a basic electrical/mechanical layout. Many plan providers list examples for walkout basements and sloped sites—see collections for guidance: Studio Home Office Plans and The House Designers single-story lake plans.
- Tips & warnings:
- Tip: Get a local builder to review plans before submitting for permits—this avoids costly redesigns.
- Warning: Submitting incomplete documents will delay permits; include energy compliance forms if required in your jurisdiction.
- Expected outcome: A permit-ready plan set or a clear list of required modifications and an estimated permit timeline.
Step 6: Bid, choose a builder, and plan the construction timeline (This takes ~2–6 weeks)
- Action: Send plan sets to 3–5 builders and compare bids, timelines, and references.
- Details: Ask for a line-item estimate, a build schedule, and examples of similar lakefront projects. Confirm that the builder understands waterfront foundation requirements and erosion control. If you’re a DIY builder, break the project into phases (foundation, shell, MEP, finishes) and estimate hours and subcontractor needs.
- Tips & warnings:
- Tip: Ask builders for value-engineering options to reduce cost while keeping aesthetics.
- Warning: The lowest bid isn’t always best—verify insurance, licensing, and warranty.
- Expected outcome: A signed contract or a clear DIY schedule with milestones. You’re halfway there!
Step 7: Oversee finishes, staging, and handover (This takes ~4–12 weeks)
- Action: Make finish selections early and track procurement to avoid delays.
- Details: Finalize kitchen fixtures, flooring, window treatments, and office built-ins at least 4 weeks before installation. Stage the home office with ergonomic furniture and task lighting. For waterfront enjoyment, finish exterior decks and stairs before landscaping to protect plantings from heavy equipment.
- Tips & warnings:
- Tip: Order custom cabinetry and windows early—long lead items often delay final punch lists.
- Warning: Changing finishes mid-build triggers change orders and cost overruns.
- Expected outcome: A completed one-story modern lake house with a usable home office studio—ready for move-in or rental.
Common mistakes to avoid: Not verifying flood elevation before finalizing foundation; placing the office in a dim interior room; delaying permit reviews; and under-budgeting for waterfront-specific construction contingencies.
If something goes wrong: If the permit is delayed, contact your local building official and request a checklist of missing documents. If noise or light issues affect the office, add sound insulation or motorized shades. If bids exceed budget, ask builders for phased construction options.
For detailed sample plans and inspiration, review one-story and lake-focused plan collections at ePlans, Advanced House Plans, and Architectural Designs – Lake House Plans to compare layout ideas and modern finishes.
Next practical actions and further help
- Download sample one-story plan PDFs and a cost-to-build report. (This takes ~15 minutes.)
- Request a modification quote or consultation from Mansfield Woods: Schedule a consultation.
- Study construction resources and tools before bidding: Mansfield Woods building resources. (Expect 1–2 hours reading time.)
- View plan samples and order options for single-level lake homes: Mansfield Woods plan samples.
You now have a clear path to design, permit, and build one story modern lake house plans with home office studio. By orienting to the view, selecting an accessible single-level layout, planning a well-equipped studio, and using modern, resilient materials, you reduce long-term costs and increase enjoyment. Almost done—finalize your site survey, pick a plan, and start permit submissions. Good luck on your lakeside build!
Sources: Advanced House Plans – Lake House Collection; ePlans – One-Story Lake House Plans; House Plans & More – Studio Home Office Plans; The House Designers – Single Story Lake Plans.

No responses yet