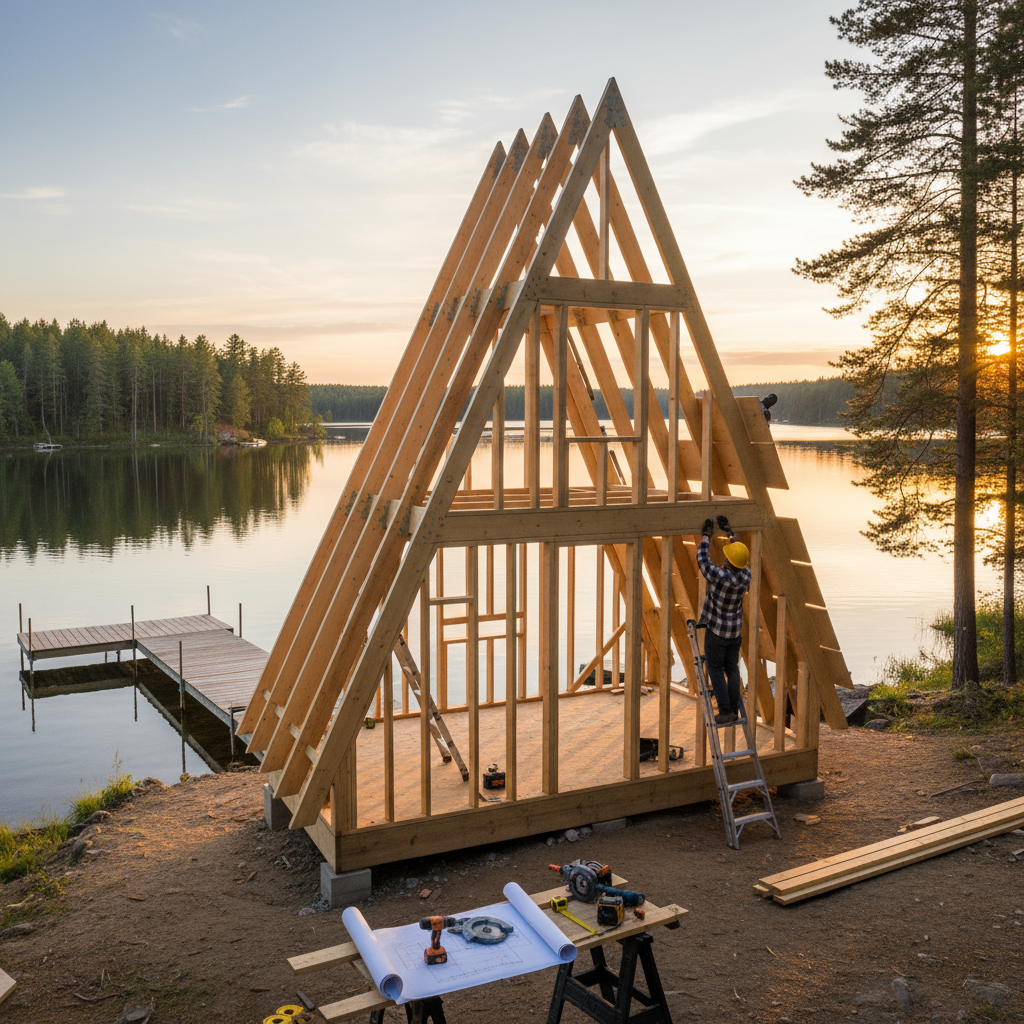
How to Use Cheap Lake Cabin Plans for DIY Builders Step by Step
What you’ll learn and why this guide matters
Start by learning how to turn cheap lake cabin plans for DIY builders step by step into a completed, single-story lakeside retreat. This guide teaches actionable choices for lot evaluation, plan selection, foundation, framing, finishes, and budget tracking so first-time lakeside buyers and DIY builders can deliver a scenic, modern cabin on a controlled budget. You’ll get time estimates, common pitfalls, troubleshooting tips, and links to hands-on examples and plan resources tailored to Midwest and Northeast lake regions.
Before you start: Required tools, knowledge, and resources
- Basic skills: measuring, cutting lumber, framing, and working with simple mechanical systems (this takes ~8–20 hours of prep learning if new)
- Essential tools: circular saw, framing hammer, nail gun (optional), level, tape measure, jack, post-hole digger, chalk line
- Materials: ready-made cabin plan PDF or blueprints, foundation materials (concrete or helical piers), treated lumber, plywood, roofing
- Time: budget 1–3 people and 6–12 weeks for a simple 12×20 single-story shell; full finish depends on scope
- Permits & inspections: check local shoreland and floodplain rules before buying materials
- Download designs and single-story resources: one-story plans, building resources, custom plans
-
Step 1 — Select a proven cheap lake cabin plan (30–90 minutes)
Action: Choose a plan that matches your lot, budget, and single-story preference. Start with compact footprints (10×12, 12×12, 20×32) for the cheapest builds. If you want modern lines, pick a simple rectangular plan with large lake-facing windows.
Tips / warnings:
- ☐ Verify plan includes foundation details and framing layouts — if not, budget for engineering
- ☐ For sloped lots, select plans that show pier or stepped foundation options
- Pro advice: If you need a fast, budget build, use a plan documented by a build timelapse (real example: 55-day cabin project for ~$13k) so you can follow an actual schedule (case study).
Expected outcome: You’ll have a downloadable plan PDF and an initial materials checklist. If you can’t find a perfect plan, use a modular plan that is easy to adapt for water setbacks.
-
Step 2 — Verify site, permits, and utilities (1–3 days)
Action: Walk the lot with local zoning maps, measure setbacks, and confirm septic/well or municipal hookups. Contact the county building office for shoreline and floodplain rules.
Tips / warnings:
- ☐ Take photos and GPS coordinates of key spots (where the cabin will sit, access road, trees to preserve)
- ☐ If your lot is in a flood zone, then opt for raised floor plans or pier foundations
- Pro advice: Ask for a site visit appointment with a local inspector — it prevents costly rework
Expected outcome: Permit checklist, required setbacks documented, and any required site-prep identified. If a septic system is required and not present, then factor 1–3 weeks and added cost.
-
Step 3 — Prepare the site and foundation plan (2–7 days)
Action: Clear minimal vegetation, preserve mature trees when possible, and mark foundation footprint. Choose between concrete slab, crawl space, helical piers or poured footings based on soil and flood risk.
Tips / warnings:
- ☐ For sloped lots, then consider pier systems to reduce excavation — this saves trees and grading costs
- ☐ Verify elevation needs with a simple transit or laser level; if you skip this, then your cabin may not meet local elevation rules
- Screenshot hint: [Screenshot: property staking showing footprint and elevation markers]
Expected outcome: A staked footprint and a foundation plan ready for excavation or pier installation. This step prevents major structural issues later.
-
Step 4 — Frame the floor, walls, and roof using builder-friendly methods (1–3 weeks)
Action: Follow the plan’s framing sequence: build the floor frame, sheathe the deck, erect wall panels, then lift roof trusses or rafters. Use 2×6 exterior walls for better insulation if budget allows.
Tips / warnings:
- ☐ Measure diagonals for squareness: if diagonals are equal, then the frame is square
- ☐ Use blocking and hurricane ties on lakefront builds to resist winds
- Pro tip: Watch step-by-step videos for framing details — practical cabin builds are shown in detail in the Simple off grid Cabin and beam/floor construction videos (framing demo).
Expected outcome: A weatherproof shell if you sheathe and roof immediately. Typical time: small cabin shell in 1–3 weeks with 2–3 helpers.
-
Step 5 — Install windows, doors, and weather barriers (2–5 days)
Action: Fit lake-facing windows for views and cross-ventilation; apply house wrap and flashing correctly to avoid leaks.
Tips / warnings:
- ☐ Use proper flashing tape on all window and door openings — skipping this causes water damage
- ☐ Choose low-maintenance window materials for lakeside humidity
- Troubleshoot: If you see gaps, then add backer rod and exterior-rated sealant; if condensation occurs, check ventilation.
Expected outcome: A sealed cabin envelope ready for insulation and interior finishes.
-
Step 6 — Finish systems: electrical, plumbing, and HVAC for budget builds (1–3 weeks)
Action: Rough-in wiring, plumbing, and connect to septic/well or install composting toilets for off-grid builds. Consider mini-split heat pumps for efficient heating/cooling.
Tips / warnings:
- ☐ Hire licensed electricians or plumbers where required — permitting often mandates licensed trades for sign-off
- ☐ For DIYers on a budget, then use a single mini-split and propane range instead of full central HVAC
- Pro advice: Follow a clear inspection schedule — if you skip inspections, then final occupancy may be blocked.
Expected outcome: Systems rough-in passed by inspection, enabling drywall and trim work.
-
Step 7 — Interior finishes, trim, and lake-ready materials (1–4 weeks)
Action: Install insulation, drywall or tongue-and-groove wood, then finish floors with durable, lake-friendly materials (vinyl plank or sealed hardwood).
Tips / warnings:
- ☐ Use moisture-resistant materials near entryways and lake-facing doors
- ☐ Protect finishes during construction with temporary paths to reduce dirt tracking
- Example: Many DIY builders pick compact cabin floorplans (10×12 to 28×28) to keep finish time and cost low; see modular options on Pin-Up Houses and blueprint collections at Houseplans.
Expected outcome: A finished interior appropriate for seasonal use or full-time living with low maintenance surfaces.
-
Step 8 — Exterior decks, landscaping, and final inspections (3–10 days)
Action: Build a small waterside deck or stairs per setback rules, install erosion control, and schedule final inspections and certificate of occupancy.
Tips / warnings:
- ☐ Use composite decking or pressure-treated lumber with proper ventilation
- ☐ Preserve shoreline vegetation where possible to reduce runoff and erosion
- Progress marker: You’re almost done — schedule the final inspection now to avoid delays.
Expected outcome: A permitted, livable cabin with safe access to the lake and inspected systems.
Next steps and avoiding common pitfalls
Finish by creating a punch list for small fixes, document the build with photos for resale value, and register warranties for major systems. Common pitfalls: underbudgeting permits and site work, skipping inspections, and ignoring flood elevation requirements. If you want a faster start, download modular cheap lake cabin plans for DIY builders step by step and compare them against real builds like the 55-day timelapse project to set realistic schedules.
Further reading and examples:
- How to Build a DIY Cabin in 55 Days for $13k — build sequence & budget case study
- Simple off grid Cabin that anyone can build & afford — framing demo and floor beam assembly
- Building a TINY Lakefront Cabin in the Woods — sloped lot and septic considerations
If you followed these steps, then you’ve completed an actionable plan to build a lakeside retreat using cheap lake cabin plans for DIY builders step by step. For additional plan templates and downloadable PDFs, check our single-story plan collection at Mansfield Woods One-Story Plans. If you need contractor referrals or a customizable blueprint, visit our custom plans page or our building resources hub.
Related how-to searches: how to build a lake cabin tutorial, DIY waterfront cabin blueprints, 1 story lake house plans guide. Repeat the primary goal: cheap lake cabin plans for DIY builders step by step is your roadmap — follow each action and inspection, and you’ll reduce risk and control costs.

No responses yet